


Lately, we’ve been getting a bunch of questions from our community about how to print smooth, clean eggs—so if you’ve been wondering the same thing, you’re not alone!
Since we’re officially in egg-printing season, we thought—why not spoil our fellow makers with some of our favorite tips straight from the Amolen studio?
From filament choices to slicer settings, here’s how we get those perfect, polished prints that look like they rolled out of a 3D-printing dream. 🐣 Let’s crack it open:
1. Choose the Right Filament
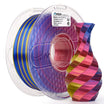
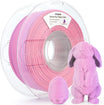
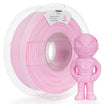
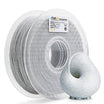
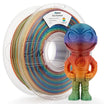
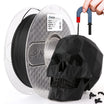
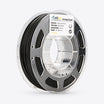
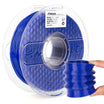
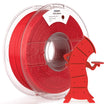
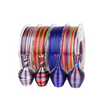
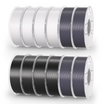
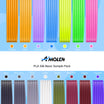
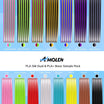
The smoother the filament, the smoother the egg. Filaments with silky finishes like Amolen Silk PLA, or even high-resolution Matte PLA, help hide layer lines and give you that clean, seamless finish.
💡 Pro Tip: Try using our Silky S-Series filaments for beautiful color shifts and velvety surfaces that make your eggs stand out without any post-processing.

2. Print Vertically – Or Split for Easy Assembly
Orientation matters. Printing the egg standing upright (pointy end up) helps minimize support usage and gives a more symmetrical surface.
- Why it works: The vertical orientation allows gradual layer transitions, especially near the curved top.
- Use adaptive layer height if your slicer supports it – thinner layers at curves mean smoother finishes!
Alternatively, you can slice the egg in half (either vertically or horizontally) and print each half flat on the bed. Many egg models are designed with a swirl-and-lock or snap-fit connection, so you can easily put the two halves together without glue—perfect for decorative storage or surprise-filled eggs!

3. Use the Right Settings
Dialing in your slicer is key. Try these optimized settings:
- Layer Height: 0.1–0.16 mm for high detail
- Shells/Perimeters: 3+ for a sturdy shell
- Infill: 10–15% is enough (it’s an egg, not a brick!)
- Print Speed: Slow it down – 40–50mm/s helps with precision
- Cooling: Keep your part cooling fan on to maintain detail
To help hide the layer lines, we also recommend using slower print speeds and a smaller layer height. For most parts, simply follow the model’s instructions.

4. Try a Smoothing Technique (Optional)
If you want ultra-smooth perfection:
- Wet Sanding: Gently sand the surface with fine-grit sandpaper (start with 400 and go up to 1000+).
- Primer + Paint: Apply a light coat of filler primer, sand, then finish with a pastel or metallic spray.
- Vapor Smoothing: For filaments like ABS (not PLA), vapor smoothing with acetone gives a glossy egg finish. But be safe – this method requires a well-ventilated area!

5. Experiment with Supports – Or Skip Them
If your model has an overhang near the egg’s base or internal details:
- Use tree supports for less surface damage.
- Adjust support z-distance to avoid fusing with the print.
But honestly? Many egg models print beautifully support-free if oriented properly!
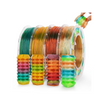
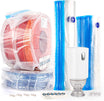
Easter Eggstra Sale – Up to 15% Off!
 Celebrate Easter with colorful prints! 🍭
🐣 Choose your favorite rolls and enjoy automatic savings—no code needed!
Smooth Eggs = Smart Settings + Quality Filament
It’s not just about the model – it’s about your filament choice, printer settings, and finishing touches. Take your time, experiment, and you’ll be hatching beautiful, smooth 3D eggs in no time.
Got your egg model ready? Tag us @Amolen3D with your prints and let us know your favorite finish!
Print Beyond Limits. 🌀
